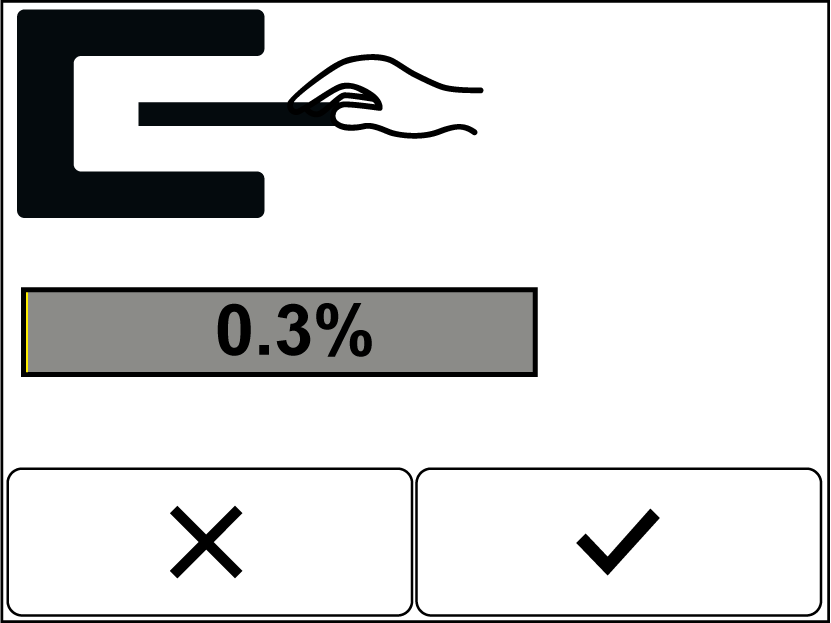
The adjacent screen appears in the display (here with Sensor 1 selected). The animation shows the operating steps necessary for generating the bright / dark values:
The hand moves the material into the sensor scanning area (dark value) and back out again (bright value).
Completely clear the selected sensor's scanning area (no material in the scanning area).
The bright value measured is displayed.
Completely cover the selected sensor's scanning area with the material to be scanned for at least 2 seconds.
The dark value measured is displayed.
Press the button.
The material setup for the selected sensor is completed.



 button.