Manual Material Setup
This chapter describes the procedure for saving the bright / dark values with critical contrasts.
You have to perform the material setup for each edge sensor (sensor 1, sensor 2) separately.
- Remove any material that may be present from the connected edge sensors and clean the sensor scanning areas.

- Select the desired sensor by pressing the respective key Sensor 1 or Sensor 2.
- The LED of the key will illuminate.
- Activate the manual material setup (see Activating the Material Setup).
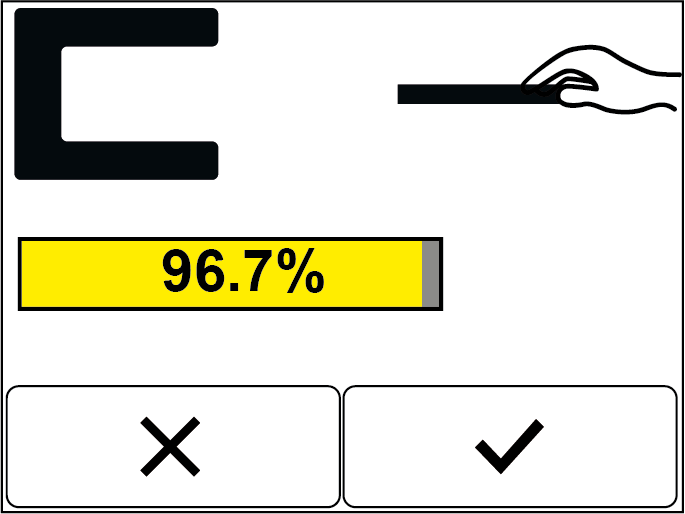
- The screen display shows the operating step necessary for generating the bright value for the selected sensor (Sensor 1 here).

- Completely clear the selected sensor's scanning area (no material in the scanning area).
- The bright value measured is displayed.

- Press the
button.
- The bright value will be saved.
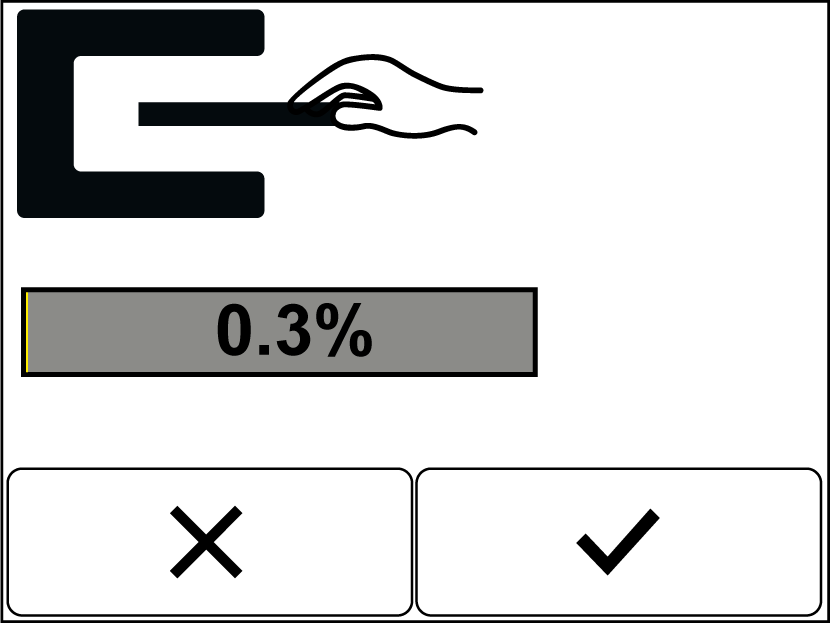
- The screen display shows the operating step necessary for generating the dark value for the selected sensor (Sensor 1 here).

- Completely cover the scanning area of the selected sensor with the material to be scanned and keep it covered.
- The dark value measured is displayed.
- Press the
- The dark value will be saved.
- The material setup for the selected sensor is completed.
- The setup menu is displayed.