Setting Stroke Limitation and Servo-Center Position
Setting Stroke Limitation and Servo-Center Position
For actuators with position feedback, you must set the position of the software limit switches for the stroke limitation and the servo-center position. The setting is carried out with the assistance of a special setting menu.
The setting menu for actuators with position feedback appears in the display.
Setting menu for actuators with position feedback
①
Button for switching the position control on / off, display of the operating state of the position control (on / off)
②
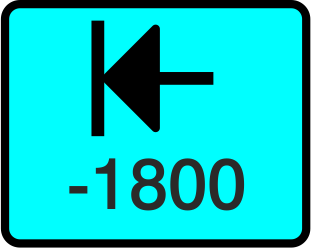
Button for saving the position for the software limit switch 1, display of the current position for software limit switch 1
③
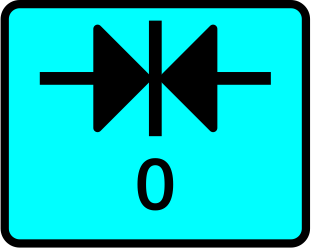
Button for saving the servo-center position, display of the current servo-center position
④
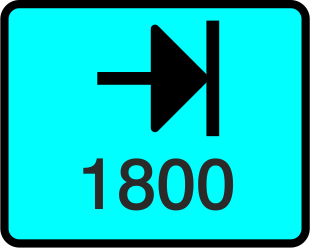
Button for saving the position for the software limit switch 2, display of the current position for software limit switch 2
⑤
Button for switching the normalized display on / off, display of the operating state of the normalized display (on / off)
⑥
Current position of the actuator (numeric display)
⑦
Current position of the actuator (graphical display)
When new position values are taught in, the factory default settings will be overwritten. The relevant symbol (sensor 1, sensor 2 or servo-center position) will be inversely displayed after teaching in a new value.
WARNING
Danger of death from actuator movements!
During function tests, parts of your body may be crushed, cut or hit.
▶Make sure that no persons remain in the vicinity of the pivot / traversing area of machine components that are positioned by the actuator.
Setting the position for the software limit switch 1
»The Actuator setting menu is displayed.
Using the arrow keys, move the guiding device to the desired position for software limit switch 1 (in the direction of sensor 1).
The position indicator of the actuator displays the value supplied by the position feedback.
Press the Software limit switch 1 button.
The current position is accepted as position for software limit switch 1.
The button is displayed with a blue background.
The new position value (-1800 in the example) is displayed on the button.
Setting the position for the software limit switch 2
»The Actuator setting menu is displayed.
Using the arrow keys, move the guiding device to the desired position for software limit switch 2 (in the direction of sensor 2).
The position indicator of the actuator displays the value supplied by the position feedback.
Press the Software limit switch 2 button.
The current position is accepted as position for software limit switch 2.
The button is displayed with a blue background.
The new position value (1800 in the example) is displayed on the button.
Setting the servo-center position
The servo-center position must be located within the positioning range of the actuator which is limited by both software limit switches.
»The Actuator setting menu is displayed.
Using the arrow keys, move the actuator to the desired position for the central position of the guiding device.
The position indicator of the actuator displays the value supplied by the position feedback.
Press the Center positioning button.
The current position is accepted as the servo-center position.
The button is displayed with a blue background.
The new position value (0 in the example) is displayed on the button.
Exiting the settings
To save the new position values, you must quit the Actuator setting menu as follows:
Press the button.
The setting menu is closed.
All edited parameter values are saved.
The setup menu is displayed.
Press the SETUP key to return to the operation display.




 button.
